If you’ve owned a crypto miner for at least a year (or bought a used one) odds are you’ve had a problem with it. It’s constantly rebooting, one of the hash boards isn’t working, or a random number of asics don’t show up.
Now what? Do you pack it up and ship it off to be repaired? Or will you roll up your sleeves and get dirty? If it’s the latter of the two, then maybe this is for you. I’ve spent the better part of the last year posting about various projects and fixes for crypto miners but more recently I’ve been messaging with someone who has no experience with electronics. I found it to be a struggle to help, but it’s actually made me think more about how I can help. We started by walking through the basics and worked our way into a fairly technical fix involving re-flashing PIC firmware.
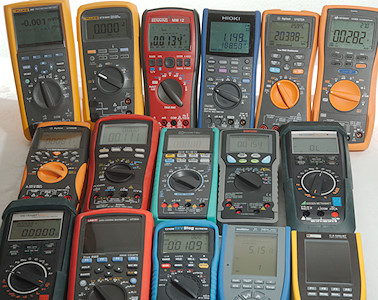
After working through this he mentioned that it would help if there was a basic overview of using a meter when debugging. He had watched my other videos, but I realize now I glance over the settings I use when making measurements and what and why I measure certain things. That brings me to this, a quick tutorial on the basic measurements I find useful when working on miners. It doesn’t go in depth on any specific model, but hopefully shows how/why I use the basics.

