
We’ve all had miners fail (if you’re here that’s most likely why), it’s frustrating, maddening, but gosh darn-it, people like you. After you’re done staring in the mirror, it’s time to start figuring out what to do. The number one thing I tell everyone I’ve worked with is to save that kernel log! I mean don’t turn the miner off until you’ve gone into the settings and copied and pasted that log into a file you save. The answer to your question may be in there.
Why save the current log? Well, for one thing that’s the “black box” of what happened. All communications between the boards and the mining pool are there and you want to know what the last thing was that happened before things went awry. Most miners (at least ones I’ve worked with) don’t save the log if you power down and reboot, it will instead overwrite with a new one. There are ways to recover it however, but unless you’re a more advanced user that knows how to SSH in, that’s not something that is easy to walk through.
There are many things that the kernel log can tell us that will point directly to the issue at hand, below are just some of the more common ones (and some uncommon) that I’ve come across:
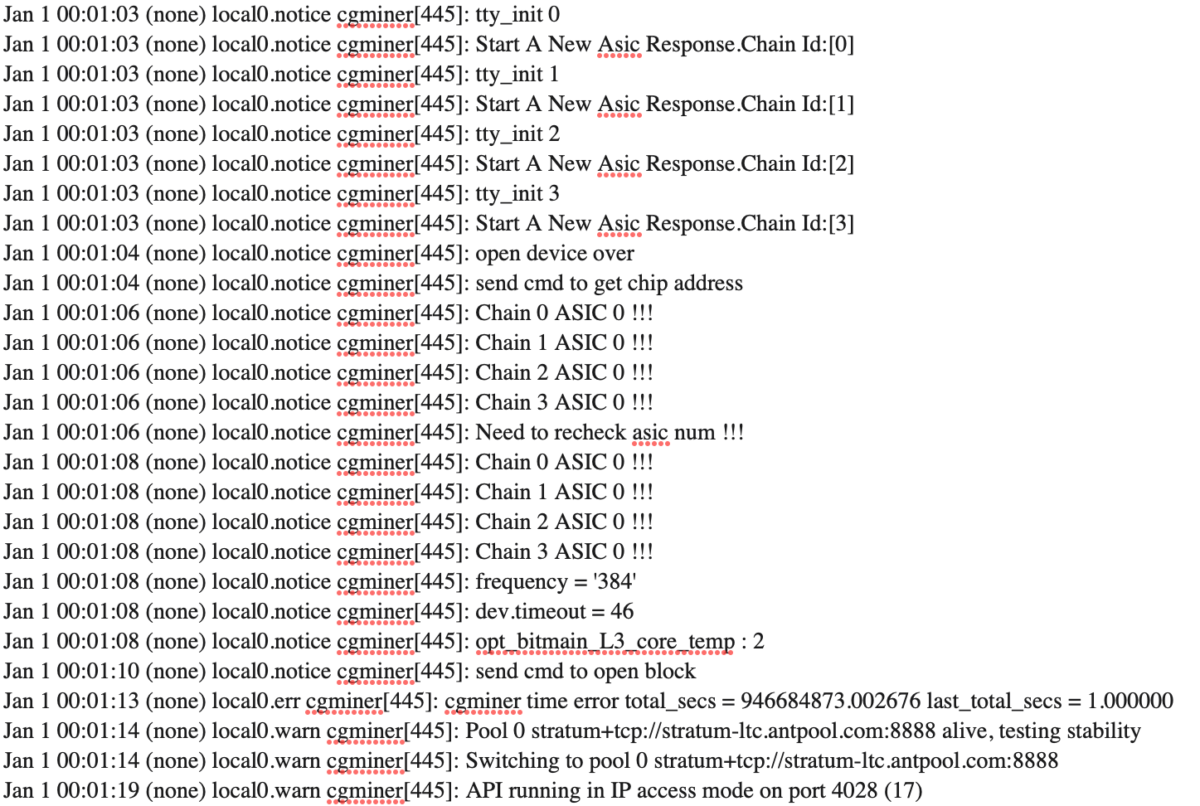
Chain X ASIC 0 !!!

Another very frustrating error with very little data. Luckily most of the time this is a rather simple fix for being such a vague error. This error essentially tells you that when the control board polls the hash board (via I2C bus) it gets either no response or an improper response from the hash boards PIC after it initializes. Sometimes it will even come back with a number like Chain 2 ASIC 23 !!! which points to ASIC 24 as the specific issue, however a ASIC 0 points to a few things we can try to fix.
CHECK VOLTAGES AT THE 10V BUCK CONVERTER AND 14.2V BOOST CIRCUIT.
Sometimes, more often than it should, the boost circuit on the hash board fails and subsequently asics show as missing or ‘xxxxxx’. Check out my walkthrough manual and scroll to the 14.2V Boost Circuit for more info. Furthermore insure the output of the 10V buck converter matches the voltage you’ve set in the firmware for that chain (i.e. common voltages like 9.5V, 9.8V, or stock voltage of 10.11V.)
CHECK VOLTAGES AT YOUR LDOS.
The L3 has 12 voltage domains, each controlled by a single voltage regulator. Most recently Bitmain used an LN1134 but has used an SPX5205 and SGM2202 in the past. In the past these domains have failed when the 14.2V circuit failed so it’s a good idea to check the voltage at each domain. This can be done by checking the voltage between pin 2 (middle pin on LDO) and pin 1 (input ~2.4V) and pin 5 (output ~1.8V.) Check this at each LDO (i.e. U75, U76, U77…) Check out my walkthrough manual and scroll to power domains for more info.
COLD RESTART THE UNIT.
From time to time intermittent problems like this can be solved by shutting the unit down for 30 seconds and then rebooting. This isn’t a long term fix but may get your unit back up and running for the time being.
LOWER THE FREQUENCY AND INCREASE THE VOLTAGE.
Go into your advanced settings for the problem hash board and try lowering the frequency and upping the voltage to at least 9.8V. Tuning the hash boards to run on minimal speed and power can have the board operating at the edge of its ability to function. Resetting the PIC to a more normal operating condition may solve your problem. Likewise operating at too high a frequency and power can potentially shorten the life of components or operate on the edge of functionality.
RELOAD THE FIRMWARE.
Sometimes reloading the firmware, especially with one that allows autotune, can help isoloate or even fix the problem if it’s with the PIC.
REFLOW THOSE SOLDER JOINTS!
An intermittent connection can change with environmental conditions . Heat and cold can flex cold solder joints and ultimately lead to failures. I’ve found that reheating and reflowing the joints on the temp sensor, buck converter, and PIC have resolved problems I’ve had in the past with missing components.
Reflowing solves the problem (sometimes.)
Fan Errors
There are a couple errors that can be associated with fans and they’re pretty straight forward to troubleshoot. The first is below, some older versions of the L3 firmware had this error, most newer and after-market versions don’t however. This points to a failing or failed fan.
Fatal Error: Some Fan Lost or Fan Speed Low!
However as the fans do start to fail, below is the message you may get. For reference fan 1 is the fan plugged into the connector closest to the front of the unit.
Fan Err! Disable PIC! Fan1 speed is too low 390 pwm 44
Fan Err! Disable PIC! Fan1 speed is too low 0 pwm 100
Another thing that points to fan errors is no hashing as the firmware shuts down the hash board if there’s a fan failure to save a thermal runaway condition. Basically, change your fan, eBay is a gold mine for these!
Get Temp Data Failed
This is pretty straight forward and almost always points to a bad TMP451 on your hash board. This error tells you exactly which chain has the failure so you can first try and reflow the solder on the TMP451 (the quality varies) or replacing the chip. I have a link to replacement parts here. The caveat is that this doesn’t always affect hashing and some firmware versions will regularly report this error due to a firmware glitch (per Bitmain.)
Get [1]Temp Data Failed!
Network Errors
Net Err! Frustrating and generally means you’re not making $. Most of the time you may see an error like below:
Net Err! lastest job more than 2 mins! waiting …
This is most likely due to one of three common problems.
- You have a poor network connection
- Your network cables or router have failed
- Your stratum address is entered incorrectly
Number of “x” = 4 of Chain 0 Has Exceeded Threshold (on any Chain…)
This can point to a number of issues. Generally when you see this error in the kernel log that is the point at which the hash board shuts down or, if you have a hash rate watchdog enabled, it will reboot. This is generally due to boards overheating or running too “hot” of a frequency. These issues can generally be remedied by lowering the frequency you’re operating the hash board at.
Scanreg Error
The infamous scanreg/crc5 error can be quite frustrating, but know that the secret to this generally lies in the ASIC chips themselves. The problem generally starts by seeing a series of the following in your kernel log:
bitmain_scanreg,crc5 error,should be 00, but check as 01…..
This is essentially pointing to an ASIC failing its self test. Sadly I haven’t seen a way in the kernel log to point to a specific ASIC, but following my post on CRC5 errors will help you track it down using your multimeter.